How to Prepare Garage Floor for Epoxy in 5 Steps
An oil spill and paint splatter on your garage floor shows that your place is well-loved. And maybe because of this, you may want to change your floors. Luckily, epoxy has come in handy to help restore your boring grey floors into very beautiful surfaces.
Choosing to apply epoxy on your garage floor is one of the best decisions you can make for its durability and appearance. With an epoxy concrete floor, you can enjoy a long-lasting and low-maintenance surface that won’t require repainting every couple of years.
If you want a high-quality DIY job, then it will be worth the time to do things right, especially if you do it for the first time. Double-check every step you take to avoid wasting your time and money. If you do not do it right, you must redo it again shortly. Also, make sure to check out the instruction that comes with the epoxy kit after making the purchase.
Applying epoxy on your garage floor might be a little difficult, especially if it is your first time, but if you follow the tips in the blog post, you will be good to go. Let’s discuss how to prepare the garage floor for epoxy:
Step #1: Remove Everything from the Garage
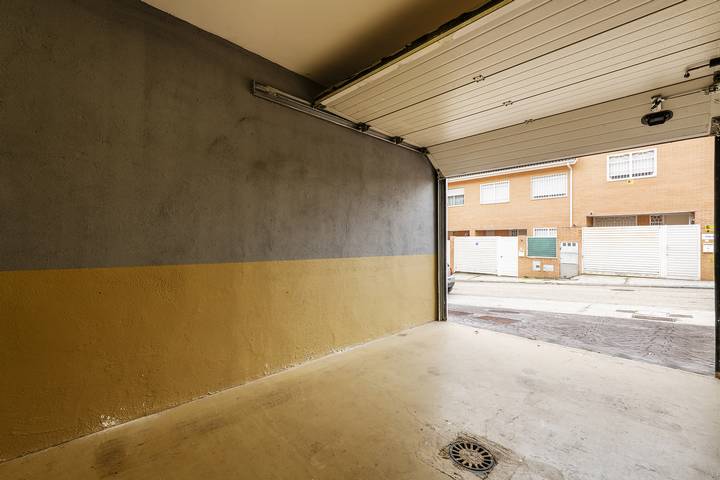
This step is not only for epoxy flooring but also for any flooring project. Remove every item and fixture from the garage. Do not intend to keep any shelving unit from the ground.
To ensure that nothing gets damaged during the process, it’s important to completely tape or wrap the items. Doing this will also help keep the garage floor as clear as possible.
Step #2: Clear the Floor Completely
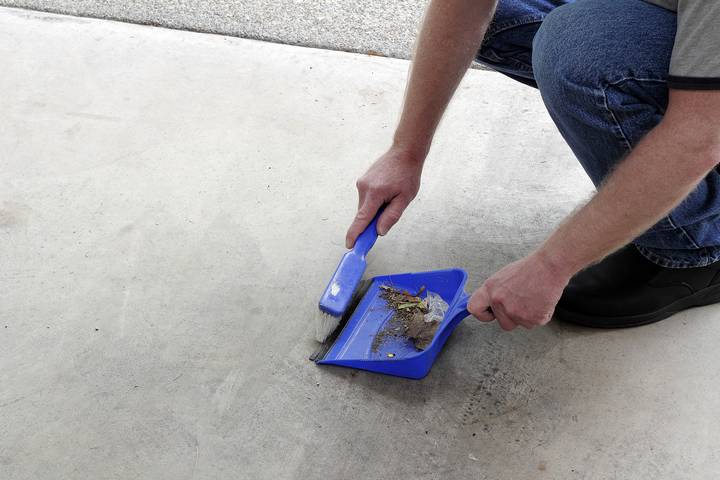
Remove any debris or dust from the floor of your garage. This step should be done carefully. Take a small brush, sweep every garage corner, and leave it as clean as possible. You can also make your work much easier if you use a vacuum cleaner.
Step #3: Make Sure to Deal With Moisture Problem
As you know, the garage is covered with car oil or other greases. You should take your time and remove any liquid from the floor because the epoxy will be difficult to stick if you don’t. After cleaning the area with a degreaser and a brush, leave it for about 4 to 5 hours before installing the epoxy floor.
Step #4: Apply Etching Solution on the Entire Surface

Removing the top coating of your garage floor is what is called etching. Most of the garage epoxy kit comes with this solution. This solution comes in a powder form, where you mix it with water and properly cover the entire garage with it.
Let it stay for 30 or 40 minutes before washing it with a pressure washer or a hose pipe. Leaving the garage for about 24 hours is recommended to ensure no moisture.
Also, make sure you do not just go in and out of the garage to limit the dust that will again come in. Since you will be dealing with acid, ensure your gloves are on for your safety.
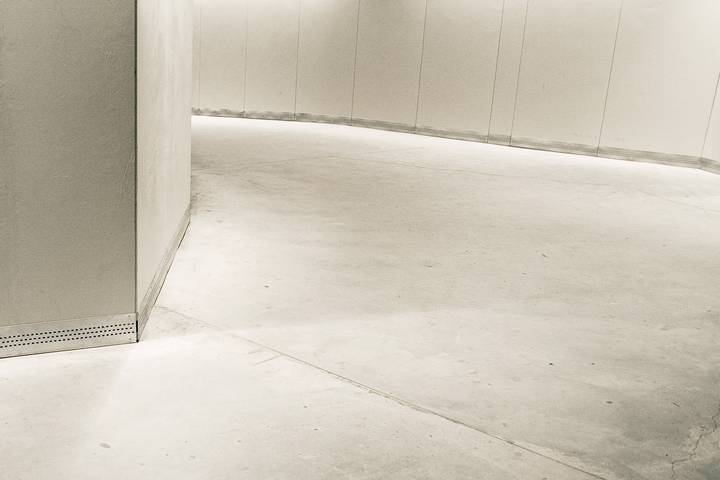
Step #5: Mix the Epoxy and Apply the Solution
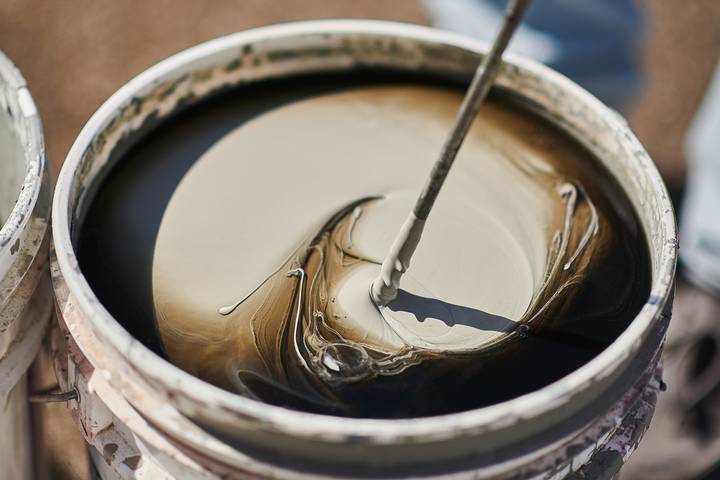
Now that the garage floor is clean and you have made sure there is no moisture, it is time to mix the epoxy and apply it to your garage floor. Your stirrer and plastic container must be ready. When talking about a plastic container, it can also be a plastic bucket but make sure it is wide enough for the roller to fit in.
Follow the instructions on the epoxy container just to be sure of the amount that you will use for the whole process. Mix the solution thoroughly, and then use a brush to paint around the wall’s surface to avoid applying epoxy on the wall. Later use a roller to paint the rest of the area.
The paint chips or colour flakes included in the epoxy kit are used to remove any stain spots or hide cracks on the floor. After the painting has dried, you can use the garage again, but you should always maintain the floor to keep it intact. For example, if there is any spill on the floor, clean it immediately.