How to Fix a Burst Water Pipe
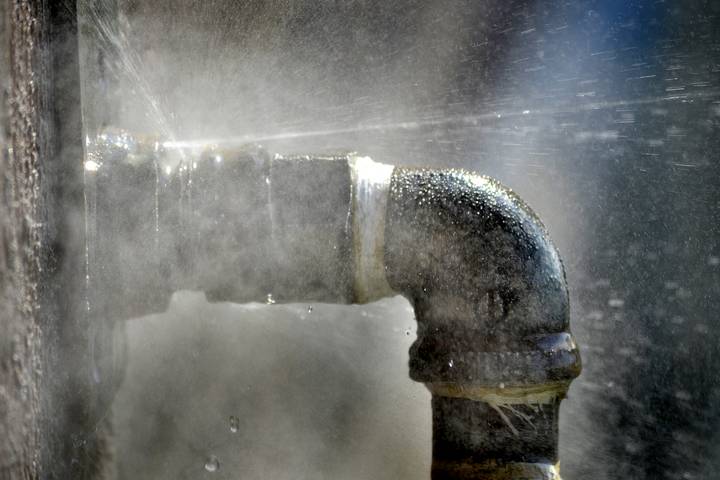
It’s a calm Sunday morning and you’re enjoying your favourite coffee in the comfort of your own home. Then, the peace breaks with a loud gushing sound. You find the source in a panic – it’s a burst water pipe, causing mayhem and flooding. This is the last thing you want with winter on the way!
Contacting the plumber is the best solution. However, you may also examine the problem yourself. Start by sizing up the problem, grab what you need, take out the broken piece, slap on a repair kit, wrap up the fixed spot to keep it warm, and turn your water back on. After fixing it up and making sure there aren’t any drips, make sure to give yourself a pat on the back.
No matter if you’re handy or trying this for the first time, our guide’s here to help. Read on and learn how a little bit of hard work and digging into some research can get your home back in shape!
Assess the situation
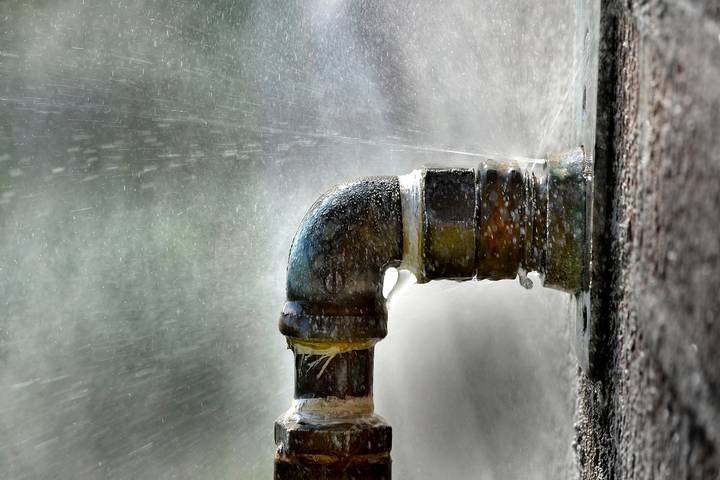
First, take a deep breath and size up the situation. You’ll need to find the main water shut-off valve, usually located in your basement or close to your water meter. Shutting off this valve is critical—it halts the water flowing to the damaged pipe. Once you’ve cut off the water, start checking out the area near the burst pipe. Look for any signs of water damage.
Pay special attention to electrical items like outlets or switches nearby. If they’re wet, make sure you switch off your home’s electricity to avoid any dangerous situations.
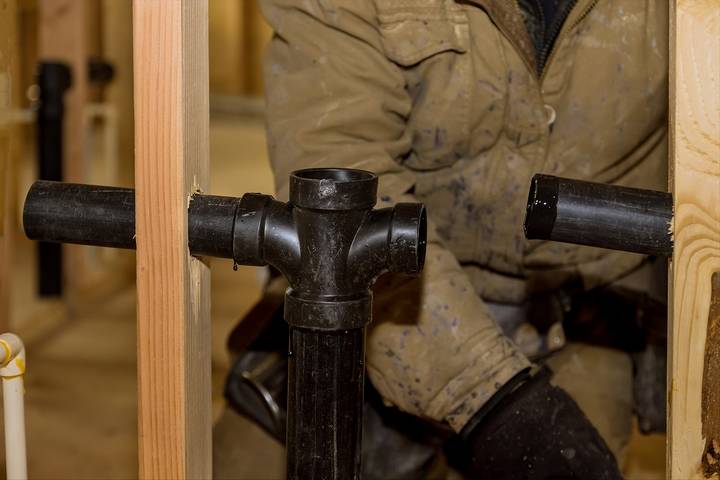
Gather your tools
Think of this as your go-to plumbing gear, and here’s what to include: start with a dependable pipe cutter; it’s your precision tool for cutting out the bad part of a pipe. Then, get yourself a pipe repair kit. These are like treasure troves, usually packed with clamps, rubber seals, and other essentials to stop leaks.
You’ll also need an adjustable wrench; it’s perfect for tightening or loosening up nuts and bolts. And don’t overlook pipe insulation. It does more than look good – it keeps your repairs safe. Adding this protective layer means you can prevent issues like pipes freezing when it gets really cold.
Cut out the damaged section
Before you start cutting pipes, get ready by measuring the area that’s damaged. Use a pencil or marker to draw a line around it. It’s smart to mark a bit more than you need, just to make sure your cuts are clean.
Put the pipe cutter on your line and begin turning it around the pipe. Keep rotating and the cutter will slice through. After you’ve finished cutting, take out the damaged pipe piece. Now you’ve got a nice, open spot to work with as you move on to the next part of fixing it up.
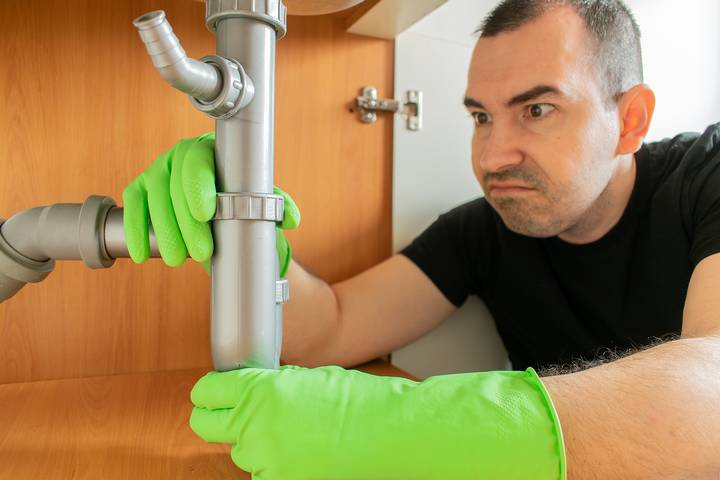
Apply the repair kit
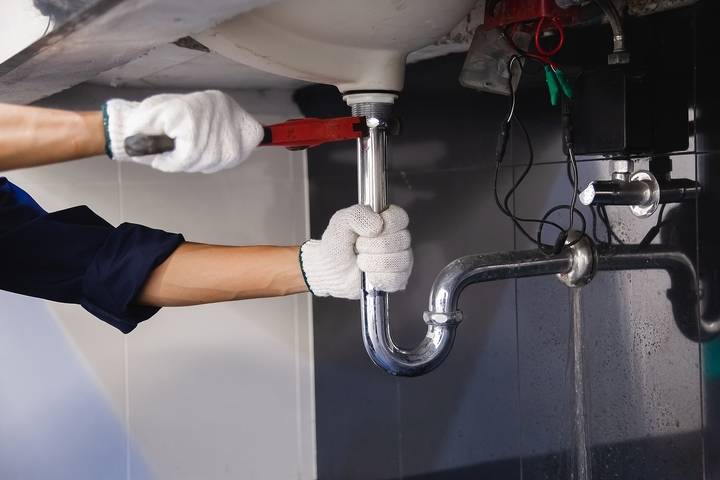
Start by cleaning the pipe. Make sure the cut ends are free from debris and smooth. You could use sandpaper or a tool made just for cleaning pipes. Next, put the rubber gaskets on both ends of the cut pipe. These gaskets are important for keeping water out. Then, get the pipe clamps ready.
Think of these clamps as your trusty sidekicks because they’ll keep everything in place. Fit them over the rubber gaskets to cover both the damaged part of the pipe and the gaskets themselves. Now grab your adjustable wrench, it’s time to tighten those clamps. Go easy—tighten them firmly but be careful not to tighten too much as that can cause new issues.
Insulate repaired area
To make sure the repair lasts and future problems are avoided, it’s important to insulate the section you’ve fixed. Start by covering the patched part with pipe insulation. Think of this material as a guard for your handiwork.
Measure and cut enough insulation to fully wrap around the clamps and rubber gaskets. If you’re in a place where it gets really cold, stop your pipes from freezing by adding some heat tape along with the insulation.
Turn the water back on
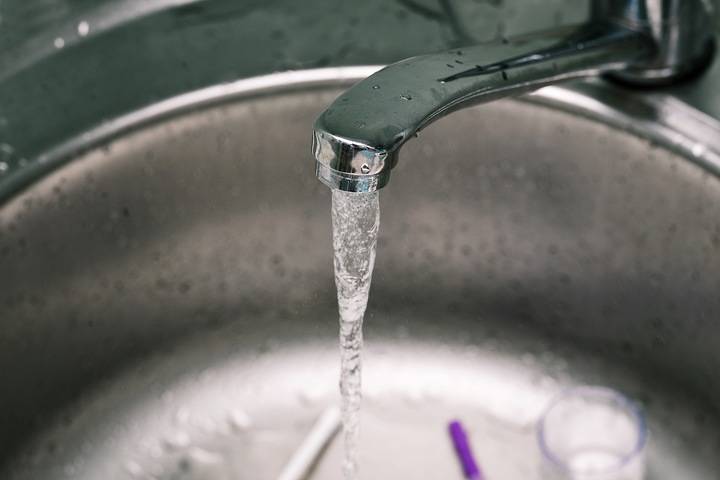
Turn the main water valve on slowly. It’s important to increase the flow bit by bit so you can watch for any leaks that might pop up. Pay close attention to where you made repairs and also to the pipes nearby. If you spot any water leaking out, like drips or sprays, shut the water off right away.
When you’re checking for leaks, keep calm if you find one. It happens a lot at this point and doesn’t mean your fix didn’t work. It just means you might need to make some small adjustments. So, turn the water off and take another look at your repair work. Maybe it’s a matter of tightening clamps or making sure the rubber gaskets are in the right spot.